Neural Style Transfer webapp using Pytorch and Streamlit Sharing

I am a final year undergraduate currently pursuing my bachelor's in the field of Information Technology. I am interested in the field of data structures and algorithms, data analytics, artificial intelligence, and machine learning with a keen interest in the field of deep learning. I have worked on projects that have an impact on our society, ranging from an ANPR system to a Waste management system all built from the ground up.
What really is Neural Style Transfer?
Neural Style Transfer algorithm blends two images together, out of the two images one is known as the content image from where the algorithm takes the content and the other is called the style image from where the algorithm takes the style for the resultant images.
This transfer of style from style image onto the content image is the idea behind Neural Style Transfer.
This is implemented by optimizing the output image to match the content statistics of the content image and the style statistics of the style reference image.
For example, Let's take an example of the Lotus Temple and the Tokyo Ghoul:
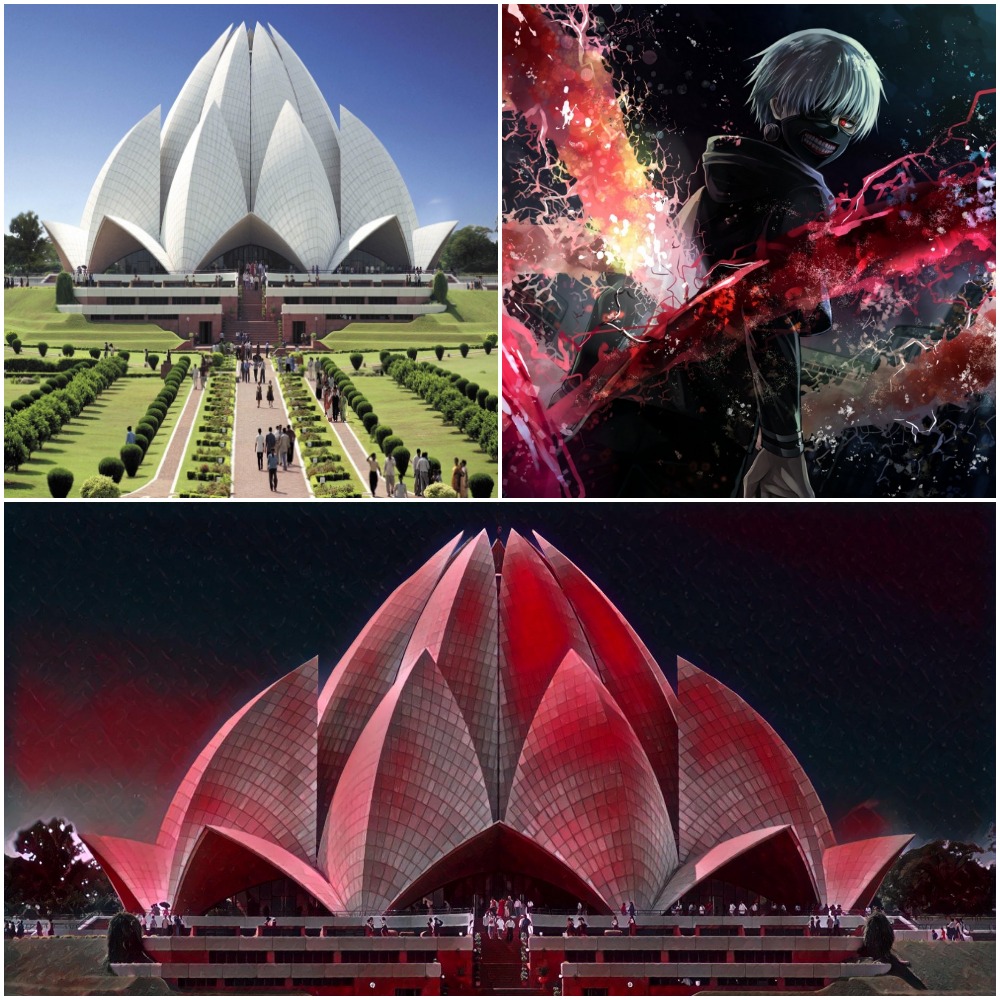
As we can see the network derived its style from the Tokyo Ghoul Image and interlaced it upon the content image in our case the Lotus Temple
In this article I will focus upon building the Streamlit Application and deploying it using the Streamlit sharing platform. I will get into the implementation of the complete network built from scratch using Pytorch in another article.
Streamlit Web App
Important Snippets
Importing Libraries:
I have added the requirements.txt file in the Github Repo so use it to install the dependancies.
import streamlit as st
from PIL import Image
import style
import os
from io import BytesIO
import base64
Adding custom colour background and custom colour title:
st.markdown("<h1 style='text-align: center; color: Blue;'>Neural Style Transfer</h1>",
            unsafe_allow_html=True)
st.markdown("<h3 style='text-align: right; color: Blue;'>by Divy Mohan Rai</h3>",
            unsafe_allow_html=True)


main_bg = "./images/pyto.png" # this is the blue background
main_bg_ext = "jpg"

st.markdown(
    f"""
    <style>
    .reportview-container {{
        background: url(data:image/{main_bg_ext};base64,{base64.b64encode(open(main_bg, "rb").read()).decode()})
    }}
    </style>
    """,
    unsafe_allow_html=True
)
Adding the sidebar selectbox to give user a choice to choose between different styles:
# creating a side bar for picking the style of image
style_name = st.sidebar.selectbox(
    'Select Style',
    ("candy", "mosaic", "rain_princess",
     "udnie", "tg", "demon_slayer", "ben_giles", "ben_giles_2")
)
# get the path of style image
path_style = os.path.join(root_style, style_name+".jpg")
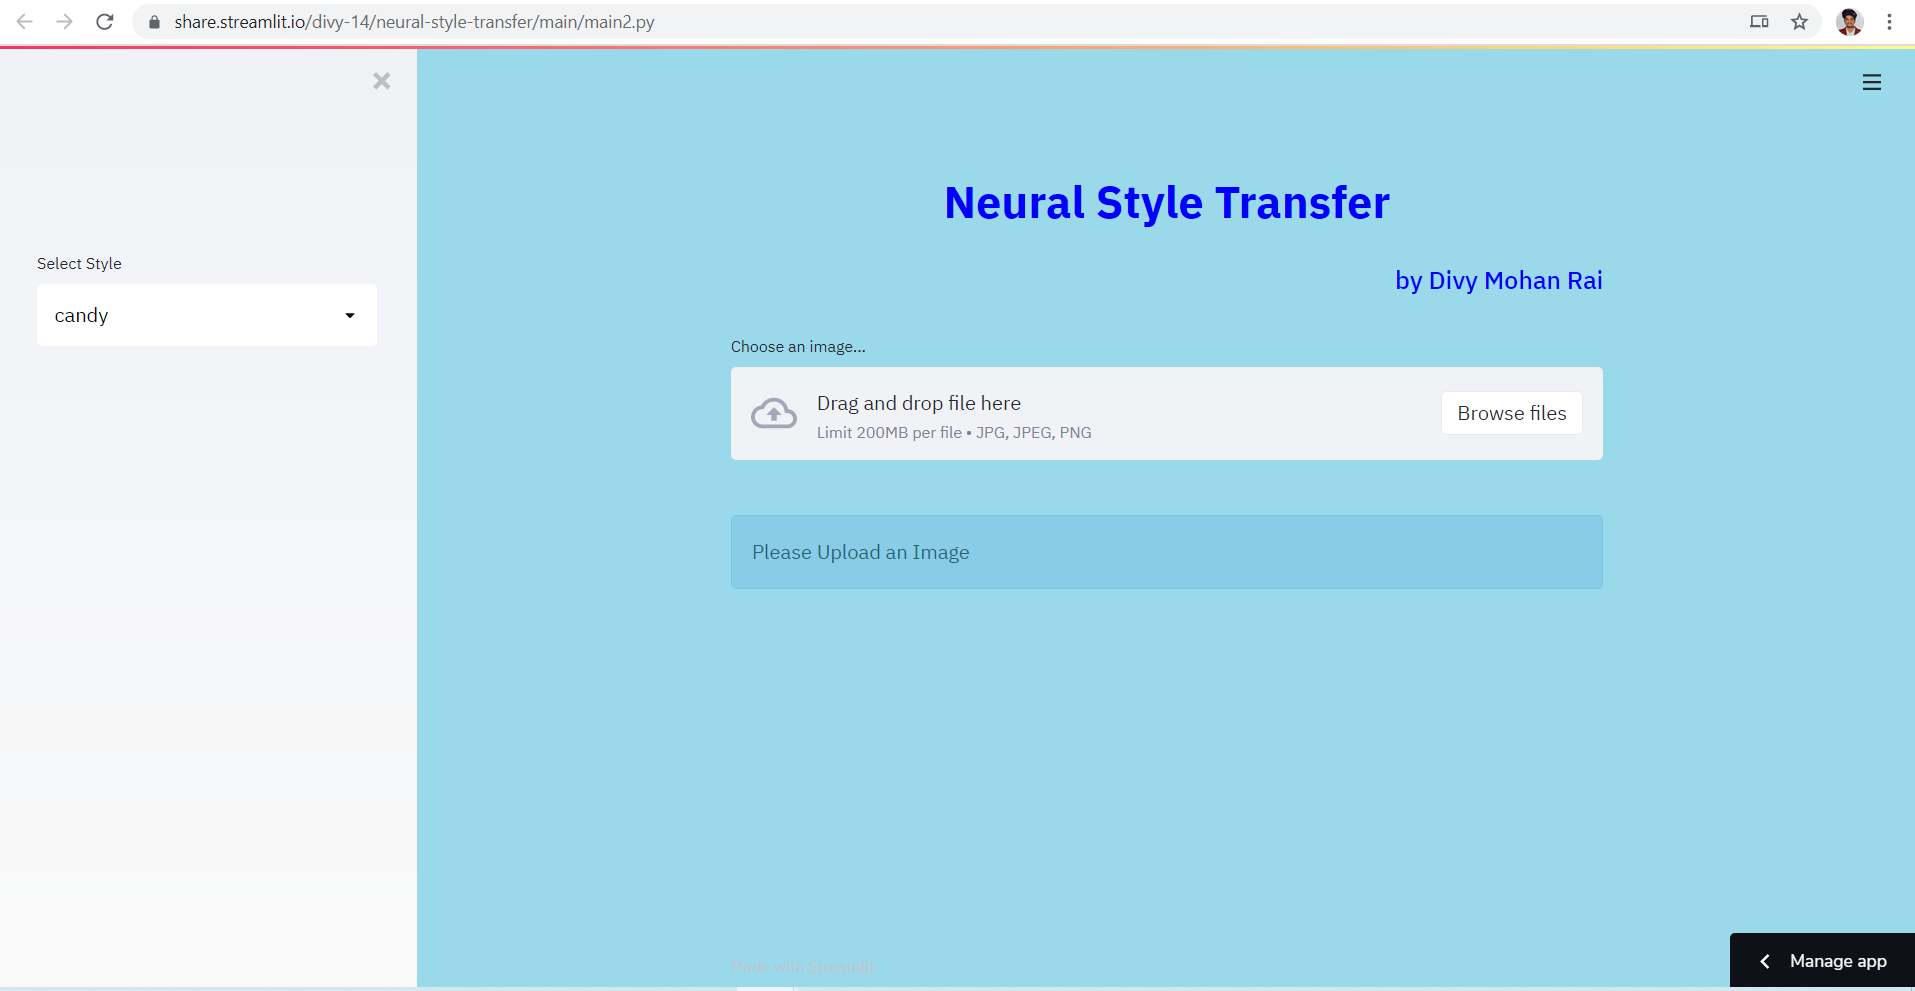
Image Upload section:
# Upload image functionality
img = None
uploaded_file = st.file_uploader(
    "Choose an image...", type=["jpg", "jpeg", "png"])

show_file = st.empty()

# checking if user has uploaded any file
if not uploaded_file:
    show_file.info("Please Upload an Image")
else:
    img = Image.open(uploaded_file)
    st.image(img, caption='Uploaded Image.', use_column_width=True)
    st.image(path_style, caption='Style Image', use_column_width=True)
Output:
For the complete code visit my Github Repo.
Now after building the app on your local system it is time to delpoy it online, Now here we can use Heroku as it is free but it suffers from long loading time and slow response specially in case of heavy Pytorch models. So I decided to go with Streamlit Sharing it is much more faster and as we are using streamlit there is no better platform than this :)
Deploying app to Streamlit Sharing
Streamlit Sharing provdies user with a platform to Deploy, manage, and share your apps with the world, directly from Streamlit — all for free.
Steps:
Make sure your app is in a public GitHub repo and that you have a requirements.txt file. I have already included it in my Github Repo you can use this for your reference.
Now you will have to submit a request on Streamlit Sharing to get access. if you are not a member of the Streamlit Sharing Platform. If you are already a member:
Log in to share.streamlit.io The first thing you’ll see is a button to login with GitHub. Click on the button to login with the primary email associated with your GitHub account.
- The request can take some time to be processed. I am already a member of the community and can extend invites to people to try Streamlit sharing! Send me an email Divy Mohan Rai or comment with your email on the post and I will send your request directly to the streamlit sharing team.
Final Outcome:
Demo Video for the Streamlit application:
A beautiful Montage created using Neural Style Transfer:
Complete Code can be found here:
Streamlit App:
Remarks:
This is the complete overview of building a Neural Style Transfer webapp using Pytorch and then deploying it using Streamlit. Streamlit Sharing is a much better alternative to Heroku if you are building webapps using the streamlit platform.
If there is anything else you want me to cover please feel free to write it down in the comments section.
Signing off:
Divy :)